Installing GMS
BEFORE YOU BEGIN: This page was designed as a step by step guide to get you started using GMS 7.10
Special Olympics International has created a more detailed guide for different types of installation scenarios. While the instructions below should suffice for most installations, if you would like to review this document please click on this link.
1 System Requirements
Windows XP and newer can run GMS with minimal problems. However, we recommend Windows 7 and newer, with an Intel i5 processor, 4GB RAM, and at least 128GB of hard drive space.
GMS is not compatible with Apple OSX. If you wish to run GMS on a Mac, emulation must be performed (i.e. Bootcamp).
2 Download Request and Registration Key
Special Olympics, Inc. (SOI) offers free GMS software licenses to all accredited Special Olympics Programs and their users. Understanding that many GMS users are volunteers, SOI distributes the software through each Program office.
Please complete the following form to request your copy of the software and the registration key.
Upon review a series of follow up e-mails will be sent to you with links to your requested version and your registration key.
GMS Download / Registration Code Request
3 Downloading & Installing GMS
To download, please follow the instructions in your e-mail. If you do not receive your e-mail within 24 hours please check your Spam/Junk Mail folders and ensure that info@specialolympicsontario.com is not being blocked by your email software.
If you are still having difficulty please contact James Noronha at jamesn@specialolympicsontario.com
After downloading the .zip file, extract the folder to a central location; your Desktop, for example. GMS is distributed as a single executable (.exe) file. It does not use Windows Installer to install the program onto your computer and proceed to the next step.
IMPORTANT NOTE: GMS 7.2 and onward have a built-in feature that prompts users to download new versions as they are released. This feature helps to 1) notify all users when there is an updated version available, and 2) make it easy for users to upgrade.
IF YOU ARE UPGRADING FROM GMS 7.2 OR LATER
You may simply copy the files downloaded either through or form request or through the auto-update download (in GMS) to your local GMS Folder. If you are running the 64-bit version of GMS please ensure that the ielib64.dll file is present in your GMS Folder.
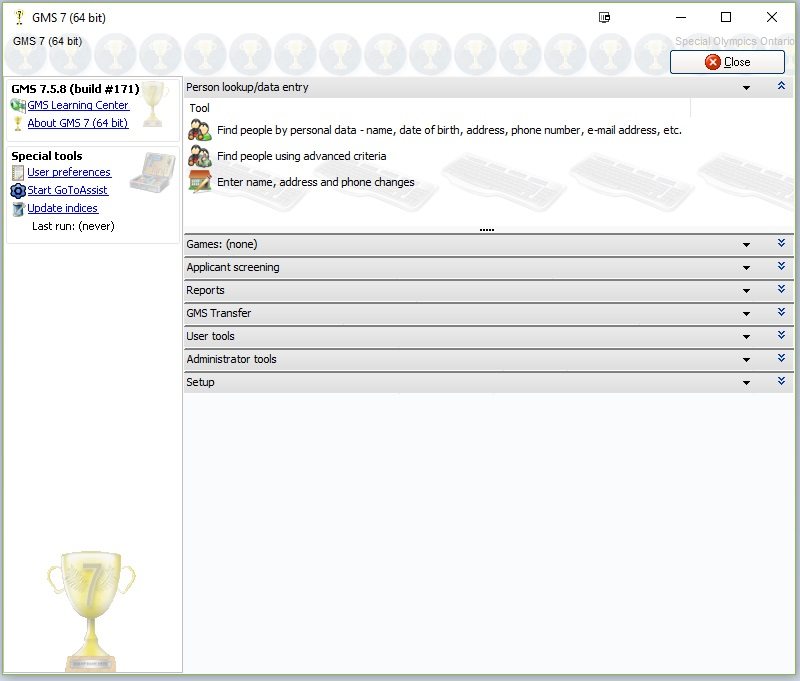
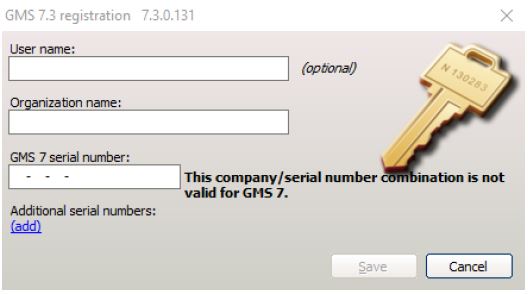
4 Starting GMS
If you are running the 32-bit version of GMS please Double-click on the GMS.exe file in your GMS Folder from Step 3. IF you are running the 64-bit version of GMS please Double-click on the GMS7_x64.exe file in your GMS Folder from Step 3. On a new installation, GMS will prompt the user to enter a User Name (optional), Organization Name, and GMS 7 Serial Number. Your User information and serial number will be in the second e-mail you received entitled GMS Registration Key.
Remember: If you are running the 64-bit version of GMS please ensure that the ielib64.dll file is present in the same folder as your GMS7_x64.exe file. The ielib64.dll is found in the 64-bit install zip file.
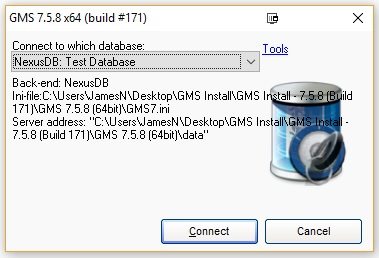
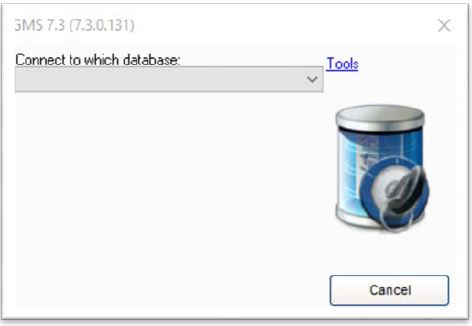
5 Database Selection on Start-Up
For a new install you will see a database selection window like the one on the right.
Select “Tools” then “Setup database connections”. This will open the Database Connections window.
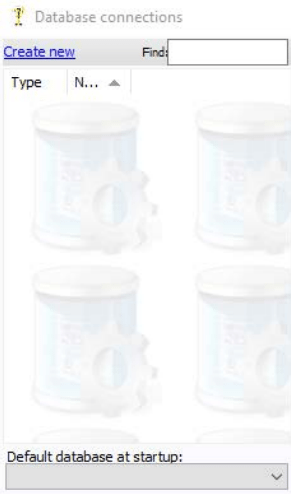
6 Database Connections Management
From the Database selection window, select “Tools” and “Setup database connections” to bring up the Database connections window. This is where you will manage all of your database connections. You can also access this window from within GMS. From the GMS Main Screen > Administrator Tools > Database Connections.
Existing databases will appear in the left column. Once you select that database, the database connection settings will appear on the right. On the bottom left, you can select your “Default database at startup” and the checkbox for “Automatically connect to this database when GMS 7 starts up” to bypass the Database Selection window the next time you open GMS.
Many people think that data is stored within GMS itself. GMS is a client that reads and writes data to a database. The database, Nexus for your purposes, is where the data is actually stored. GMS, as a client, brings data to and from the database so that the user can work with it.